 Studio Flag
©Melynda Van Zee 2010
Creating a flag is an opportunity for you to use color, text, and movement to piece together a little bit of blessing for your home, family or studio. For centuries various cultures have created and flown prayer flags as a way of releasing their prayers/thoughts/images into the world. Bits of left-over canvas scraps from my studio, basic craft paints, a couple of chip brushes and a Sharpie all combined to make creating these individual pieces a snap. The tricky part for me was the sewing-this became sort of a "sewing primer" for me-a great place to learn the basics and experiment-no need for perfection here! Thanks to my patient sewing instructors-so good for me to sit and learn something new-to let someone teach me and show me the way. Wasn't nearly as difficult as I made it out to be (although I am still not entirely prepared to deal with the whole "bobbin" thing...by myself).
1. Select random pieces of cotton canvas. Cut into shapes and lay out in desired size. I used a decorative flag I already had as a basic template for size and shape. I simply laid the decorative flag down on my studio table and placed my painted pieces on top until the design was complete.

1. Select random pieces of cotton canvas. Cut into shapes and lay out in desired size. I used a decorative flag I already had as a basic template for size and shape. I simply laid the decorative flag down on my studio table and placed my painted pieces on top until the design was complete.

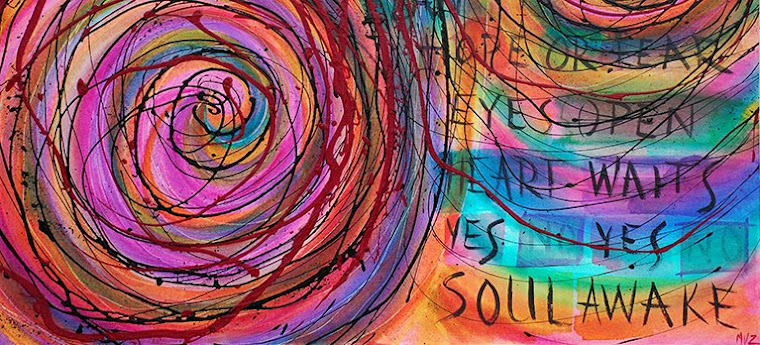
2. Use craft paint and chip brushes to add color to canvas pieces. After one side is dry, paint reverse side.

3. A black Sharpie is a simple way to add words and designs.

4. Use a sewing machine to sew pieces together with basic and zig-zag stitches.
5. Remember to create a pocket to slide flag pole through-I also added an interior canvas tab loop that attaches to the clip on the flag pole (so your flag does not slide down).
Enjoy!
Hopefully the flag will help those enjoying the studio tour this weekend to find my house. Click here for more info on the Red Rock Arts Alliance Studio Tour and don't hesitate to stop by if you happen to live in my corner of Iowa.